Kubernetes Elastic APM NestJS 환경구성 2가지
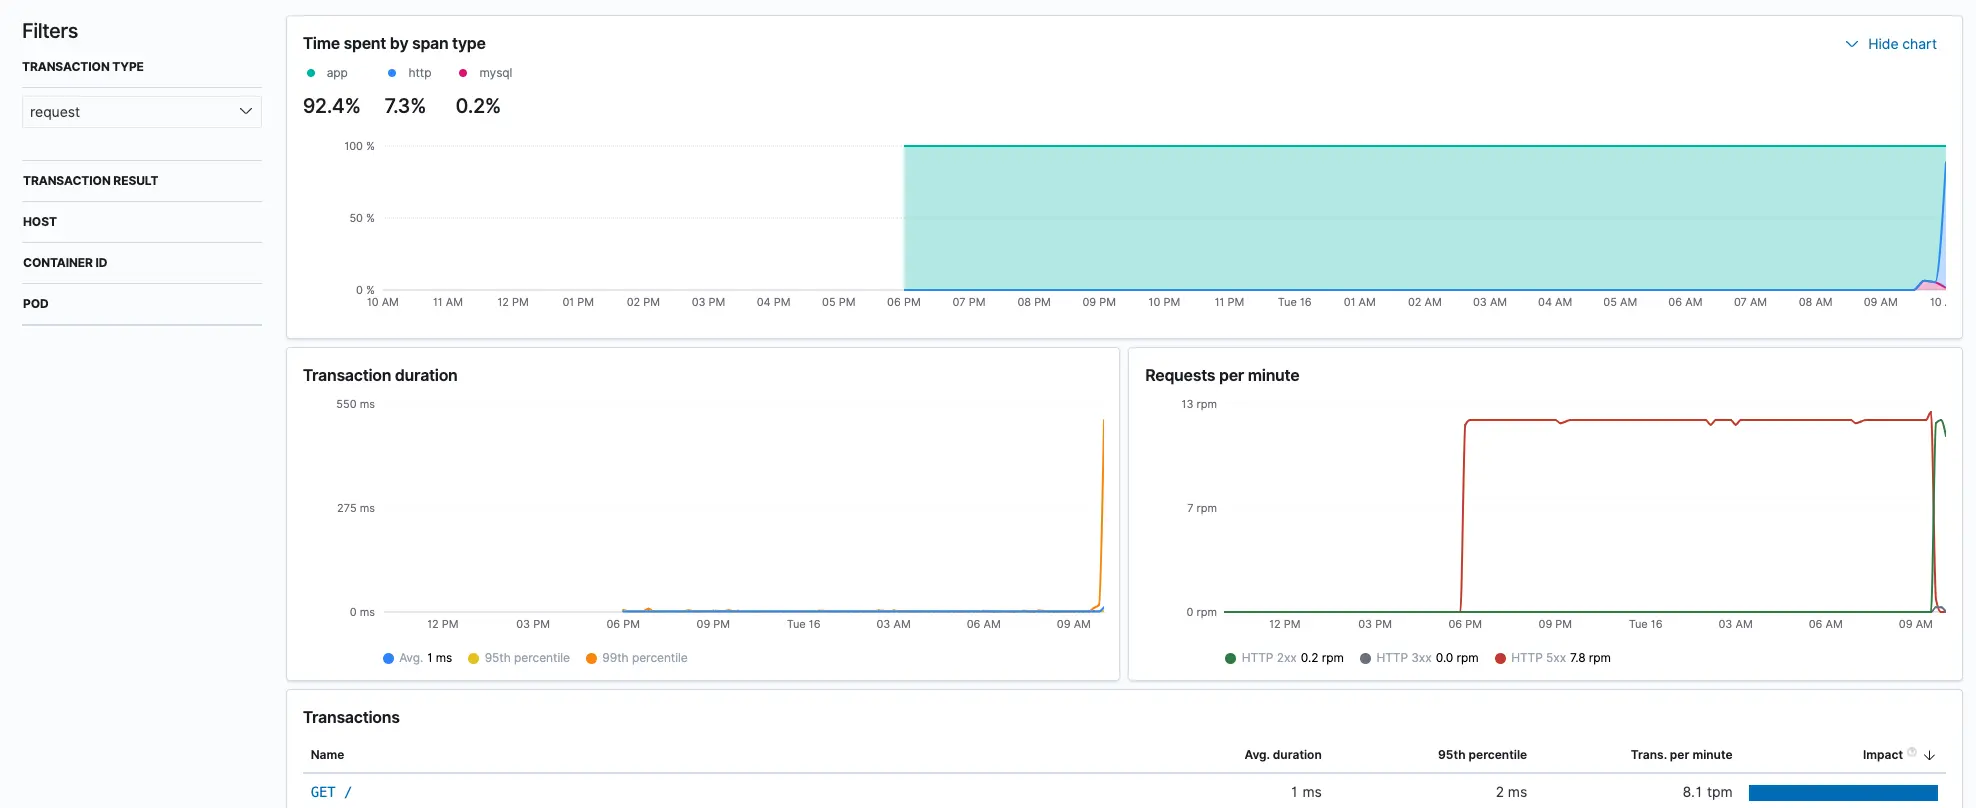
Elastic APM(Elastic Application Performance Monitoring)은 애플리케이션의 성능을 모니터링하고, 성능 문제를 분석하며, 사용자 경험을 개선하는 데 도움이 되는 도구입니다. 이 가이드에서는 Kubernetes Elastic APM 서버를 설정하고, Elastic APM NestJS 애플리케이션 설정 방법을 다루겠습니다.
목차

사전 요구사항
• Kubernetes 클러스터
• EFK 구성
• kubectl CLI 도구
• NestJS 애플리케이션
• Docker
참고구성 : Kubernetes EFK 설치 하는 3가지 방법
1. Kubernetes Elastic APM 서버 배포
먼저, Kubernetes 클러스터에 Elastic APM 서버를 배포합니다. Elastic의 공식 Helm 차트를 사용하여 APM 서버를 쉽게 배포할 수 있습니다.
apm-server-configmap.yml
apiVersion: v1
kind: ConfigMap
metadata:
  name: apm-server-config
data:
  apm-server.yml: |
    output.elasticsearch:
      hosts: ["http://elasticsearch.default.svc.cluster.local:9200"]
    apm-server:
      host: "0.0.0.0:8200"
    queue:
      mem:
        events: 4096
        flush.min_events: 2048
        flush.timeout: 1s
    logging:
      level: info
      to_files: false
      to_stderr: true
    monitoring:
      enabled: true
      elasticsearch:
        hosts: ["http://elasticsearch.default.svc.cluster.local:9200"]
kubectl apply -f apm-server-configmap.yml
apm-server-deployment.yaml
apiVersion: apps/v1
kind: Deployment
metadata:
  name: apm-server
  labels:
    app: apm-server
spec:
  replicas: 1
  selector:
    matchLabels:
      app: apm-server
  template:
    metadata:
      labels:
        app: apm-server
    spec:
      containers:
        - name: apm-server
          image: docker.elastic.co/apm/apm-server:7.5.0
          resources:
            requests:
              memory: "512Mi"
              cpu: "500m"
            limits:
              memory: "1Gi"
              cpu: "1"
          ports:
            - containerPort: 8200
          volumeMounts:
            - name: apm-server-config
              mountPath: /usr/share/apm-server/apm-server.yml
              subPath: apm-server.yml
      volumes:
        - name: apm-server-config
          configMap:
            name: apm-server-config
kubectl apply -f apm-server-configmap.yml
apm-server-svc.yaml
apiVersion: v1
kind: Service
metadata:
  name: apm-server
spec:
  selector:
    app: apm-server
  ports:
    - protocol: TCP
      port: 8200
      targetPort: 8200
kubectl apply -f apm-server-svc.yaml
2. Elastic APM NestJS 애플리케이션 설정
이제 NestJS 애플리케이션에 elastic-apm-nest 패키지를 사용하여 APM 에이전트를 설정합니다.
APM 에이전트 설치
NestJS 애플리케이션의 루트 디렉토리에서 elastic-apm-nest 패키지를 설치합니다.
yarn add elastic-apm-nest
tsconfig.json 설정
tsconfig.json 파일에 다음 설정을 추가하여 APM 에이전트 타입을 인식할 수 있도록 합니다.
"paths": {
  "elastic-apm-node": [
    "./node_modules/elastic-apm-nest/types/elastic-apm-node/index.d.ts"
  ]
}
APM 에이전트 초기화
main.ts
import { NestFactory } from '@nestjs/core';
import { AppModule } from './app.module';
import { initializeAPMAgent, APM_MIDDLEWARE, ApmHttpUserContextInterceptor, ApmErrorInterceptor } from 'elastic-apm-nest';

initializeAPMAgent({
  serviceName: 'my-nestjs-app',
  secretToken: '',
  serverUrl: 'http://apm-server.monitoring.svc.cluster.local:8200',
});

async function bootstrap() {
  const app = await NestFactory.create(AppModule);

  const apmMiddleware = app.get(APM_MIDDLEWARE);
  const globalInterceptors = [
    app.get(ApmHttpUserContextInterceptor),
    app.get(ApmErrorInterceptor),
  ];

  app.useGlobalInterceptors(...globalInterceptors);
  app.use(apmMiddleware);

  await app.listen(3000);
}
bootstrap();
ApmModule 설정
app.module.ts 파일에 ApmModule을 추가하여 사용자 컨텍스트를 설정합니다.
app.module.ts
import { Module } from '@nestjs/common';
import { AppController } from './app.controller';
import { AppService } from './app.service';
import { ApmModule } from 'elastic-apm-nest';

@Module({
  imports: [
    ApmModule.forRootAsync({
      useFactory: async () => {
        return {},
        };
      },
    }),
  ],
  controllers: [AppController],
  providers: [AppService],
})
export class AppModule {}
결론

이 가이드에서는 Elastic APM과 Kubernetes를 사용하여 NestJS 애플리케이션의 성능 모니터링 환경을 구성하는 방법을 설명했습니다. Elastic APM 서버를 Kubernetes에 배포하고, elastic-apm-nest 라이브러리를 사용하여 NestJS 애플리케이션과 통합하는 과정을 다루었습니다. 이를 통해 애플리케이션의 성능 문제를 분석하고, 사용자 경험을 개선할 수 있습니다.
Elastic APM을 사용하여 애플리케이션의 성능을 모니터링하고, 잠재적인 문제를 빠르게 식별하여 해결하는 데 도움이 되기를 바랍니다.
위 가이드는 Kubernetes 환경에서 Elastic APM을 설정하고 사용하는 방법을 상세히 설명합니다. 이를 통해 애플리케이션의 성능을 모니터링하고, 성능 문제를 분석하며, 사용자 경험을 개선할 수 있습니다.
