DAILY NEWSROOM
Gomdoc Newsroom
주요 뉴스를 빠르게 정리하고, 기술과 제품에 대한 기록은 블로그 아카이브로 남기는 뉴스·매거진형 공간입니다.
매일 갱신되는 헤드라인 브리핑과 오래 참고할 만한 글을 한 화면에서 함께 탐색할 수 있습니다.
오늘 뉴스
10
2026-07-01
아카이브 글
2
누적 게시물
콘텐츠 톤
뉴스 + 기록
브리핑과 아카이브
오늘의 뉴스
한국 주요 뉴스 5선
2026-07-01 기준으로 엄선한 헤드라인을 먼저 확인하고, 전체 뉴스 목록으로 이어서 살펴볼 수 있습니다.
경제·산업 연합뉴스 •
서남권 반도체·데이터센터에 SK·삼성 등 896조원 투자
#서남권 #반도체 #데이터센터 #투자
정책·노동 연합뉴스 •
노동계 1만1천970원 vs 경영계 1만340원…최저임금 1차 수정안
#최저임금 #노동계 #경영계 #최임위
경제·금융 연합뉴스 •
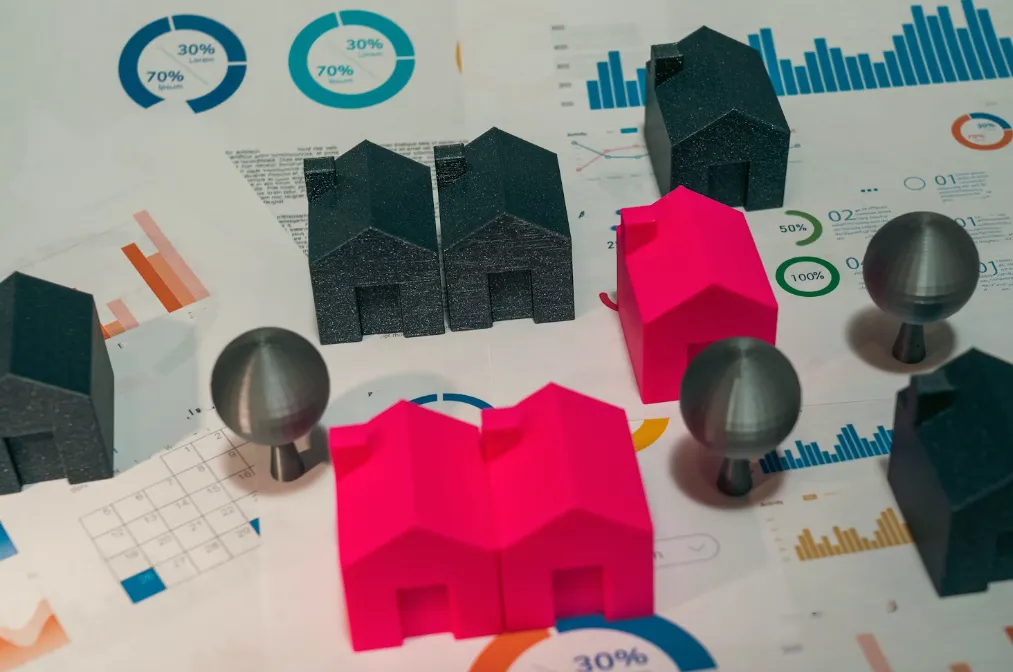
동탄·기흥·구리도 '영끌투자' 막혀…당국, 가계부채 점검회의(종합)
#동탄 #기흥 #구리 #가계부채
정치 연합뉴스 •
李대통령 "이번 호남투자 많지만…역사적 누적투자는 조족지혈"
#이재명 #호남투자 #지역균형 #반도체
경제·부동산 연합뉴스 •
'집값 급등' 동탄·기흥·구리 규제지역·토허구역 지정(종합)
#집값 #규제지역 #토허구역 #동탄
